How to install Portainer on synology / linux / vps

Portainer supports both Docker standalone installations and Docker Swarm clusters, making it a versatile tool for managing Docker environments.
Portainer Community Edition is a lightweight service delivery platform for containerized applications that can be used to manage Docker, Swarm, Kubernetes and ACI environments. It is designed to be as simple to deploy as it is to use.[1]
Version used in this documentation
There can be slight differences on installation processes if you are on different versions or hardware
| Application | Version |
|---|---|
| Debian | 11 |
| Synology DSM | 7.2.1-69057 Update 4 |
| Linux Docker | 20.10.21 |
| Synology Docker | 20.10.23-1437 |
| Docker Compose | 1.29.2 |
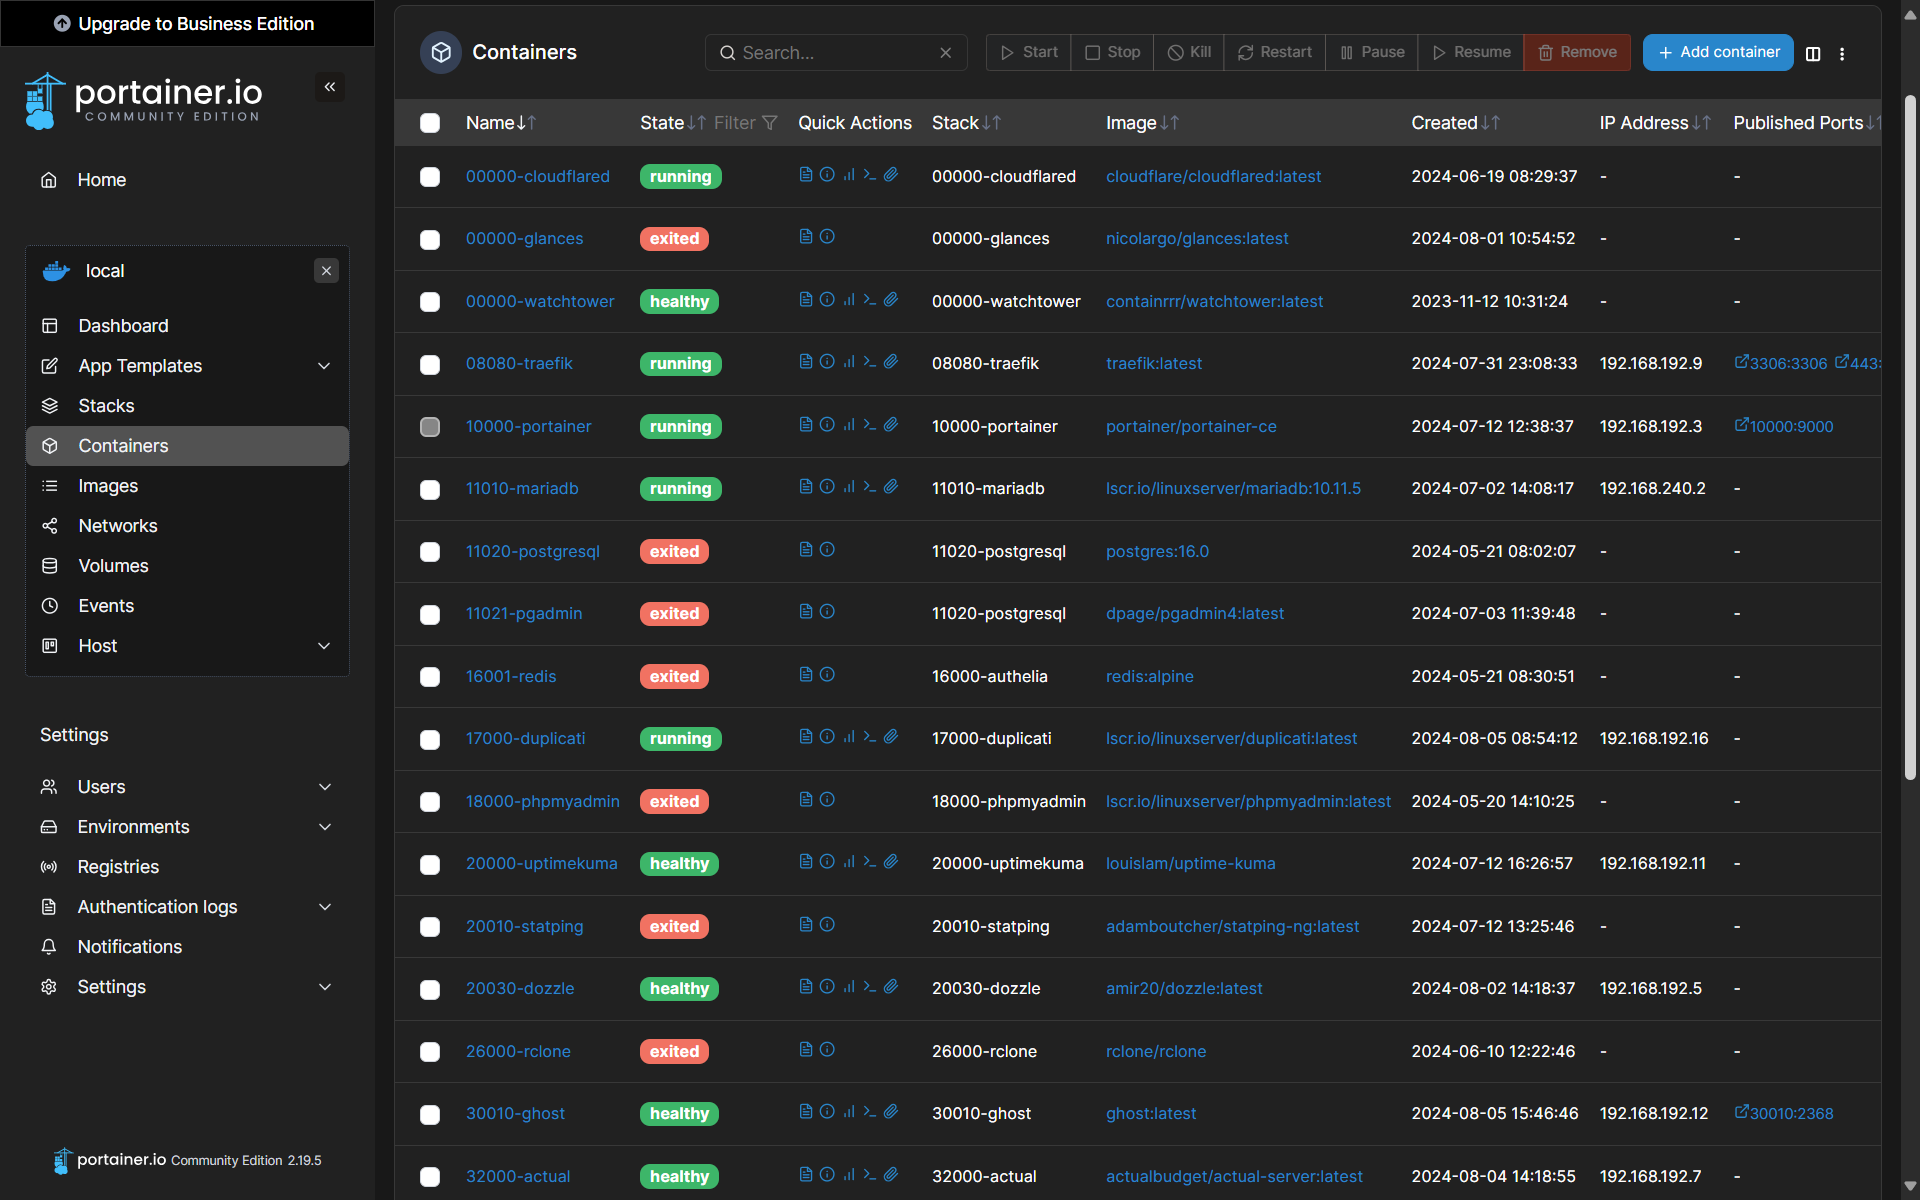
| Portainer | 2.19.5 |
Prerequisites

Environments in the examples
Check these if you are not sure which environments you can safely change
| Name | Mapped | Container |
|---|---|---|
| Container name | portainer | |
| Container image | portainer/portainer-ce | |
| Config directory mount | /volume1/docker/portainer | /data |
| Edge agent port | 10002 | 8000 |
| Https port | 10001 | 9443 |
| Http port | 10000 | 9000 |
I use different mapped port with the container port only to showcase how to change port. You can definitely use the default container port instead of changing them.
How to install Portainer
This tutorial assume that you know the most basic of unix commands and server setup
On linux device
Prepare the directory and docker compose file
-
Prepare config directory for
Portainersudo mkdir -p /volume1/docker/portainer -
Create
docker-compose.ymlfilesudo nano /volume1/docker/portainer/docker-compose.yml -
Fill the file with these:
Change every
${}to your valuesversion: "3.3" services: portainer-ce: ports: - ${HTTP_PORT}:9000 - ${HTTPS_PORT}:9443 # you can delete this entire line and portainer will still work - ${SSH_PORT_FOR_AGENT}:8000 # you can delete this entire line if you don't use portainer agent container_name: portainer restart: on-failure:5 volumes: - /var/run/docker.sock:/var/run/docker.sock - ${PORTAINER_DATA_PATH}:/data image: portainer/portainer-ce -
Save the file, after that go to where it is
cd /volume1/docker/portainer -
Install
PortainerusingDocker Composesudo docker-compose up -
If you have no reverse proxy setup for
Portainer, you need to open up the port to accessPortainersudo ufw allow 10000
On Synology NAS
If you can SSH to your synology, then it's always better to use the linux device method above
Using Synology Docker Wizard
In my opinion, installing a container using Synology Container Manager is less recommended. You may want to try installing your first container using CLI instead as it is more versatile, and it will teach you to configure your containers better. Check how to do it below
Prepare the directory
- Create
/volume1/docker/portainerdirectory.
The
dockerpart is a shared directory, go to theControl Panelto create it then createportainerdirectory insidedockershared directory
Download Portainer image
- Open up
Container Managerapplication, go to theRegistrytab, then search forportainer - Double click on the image named
portainer/portainer-cemake sure the tag islatestthen hitSelect - Go to the
Imagetab and wait a couple minutes for the image to download, when it is done the burger icon should be all blue
Deploy Portainer
-
Double click the
portainer/portainer-ce:latest, or right click then selectRun -
Fill the
Container Namei.e.portainer -
Make sure
Enable auto-restartis checked then clickNextI did not check
Enable web portal via Web Stationbecause I'm not using it. You can check it to openPortainerusingSynology Web Station -
Under
Port Settings, put your mapped port into eachLocal Port, i.e.10002to the left of8000and10000to the left of9000, then clickNext, you can delete unused ports -
Under
Volume Settings, click+ Add Folderthen pick the directory you created before i.e./docker/10000-portainer, then put/datato the right side -
Make sure
Run this container after the wizard is finishedis checked, then clickDone
Using Synology CLI
In my opinion, installing
PortainerusingCLIis the best way to install it on Synology
-
Open
Control Panelthen open theTask Scheduler -
Click
Createthen pickScheduled TaskthenUser-defined script -
Pick a task name i.e.
Install Portainer, chooserootasuser, then make sure thatEnabledcheckbox is unticked -
Go to the
Scheduletab, click onRun on the following dateand pickDo not repeatin the lower dropdown list -
Go to the
Task Settingstab then paste the following codes to theUser-defined scriptboxdocker run -d \ --name=portainer \ #<<< you can change that -p 10001:8000 \ #<<< you can change that -p 10000:9000 \ #<<< you can change that -v /var/run/docker.sock:/var/run/docker.sock \ -v /volume1/docker/10000-portainer:/data \ #<<< you can change that --restart=unless-stopped \ portainer/portainer-ce -
Save everything then right click the task and clik
Run -
Wait a couple minutes for the container to install. If you do not receive an error email then
portainerwill show in Synology Container Manager'sContainertab with green dot in the status column
How to open Portainer
- Open your web browser
- Go to http://your-device-ip:10000
i.e. http://192.168.1.1:10000 - Fill in your account details
How to update Portainer
On linux device
-
Stop
Portainersudo docker stop portainer -
Delete the old container
sudo docker rm portainer -
Go to where you put
docker-compose.ymlcd /volume1/docker/portainer -
Run
Docker Composeagainsudo docker-compose up
On Synology NAS
If you used Synology Container Manager
- Open
Container Managerapplication - Go to the
Containertab Right clickonPortainer, pickActionthenStopRight clickonPortaineragain, pickActionthenDelete- Do all the steps here again
If you used Synology CLI
- Open
Dockerapplication - Go to the
Containertab Right clickonPortainer, pickActionthenStopRight clickonPortaineragain, pickActionthenDelete- Do all the steps here again
Important links
 portainer